
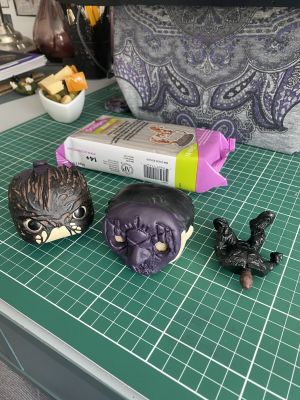
Right! On to sculpting iii’s spacebuns!
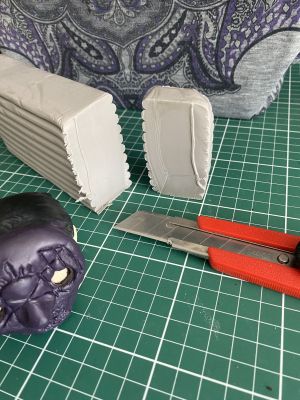
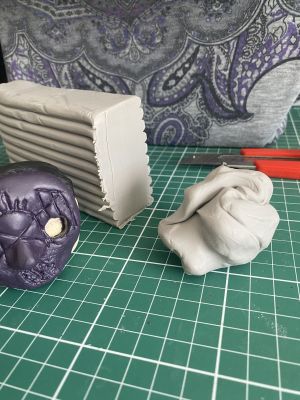
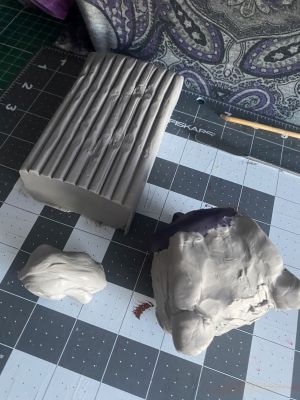
I got some Super Sculpey Medium clay and I’m hooked! This stuff is so much easier to work with than the other one. Not sticky, holds the details well and it blends and smoothes so nicely. I wouldn’t mind trying the Firm as well to compare the texture. Chopped off a slice and kneaded the crap out of it to condition the clay and get it nice and pliable to work with.
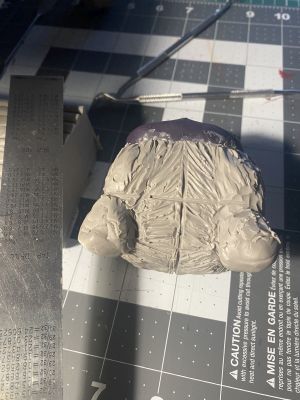
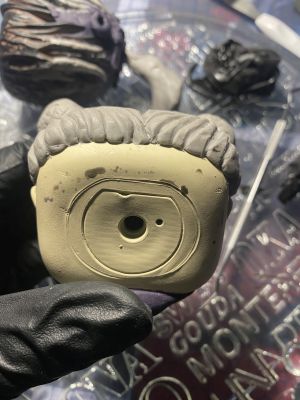
Next comes the blobbing. It’s like a rough sketch to get all the shapes in the spots you think they should be. Adding more clay to the hair layer to cover all of the existing dark hair
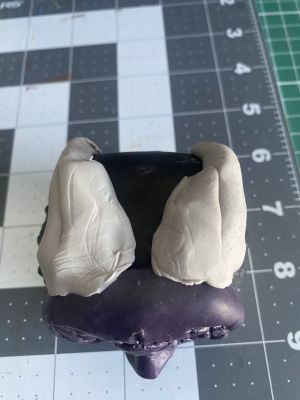

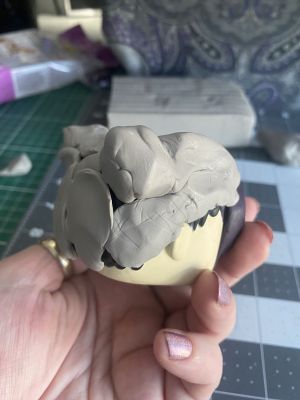
ON to the smooshing. Lots of smooshing it in all directions to cover the bits you want and smoosh it out of where you don’t want it.

All the while checking the proportions from all angles to make sure that nothing goes wonk. You’ll notice in some of these pics that the buns go wonk but that’s mostly from my fingers pressing into them when I’m holding the head working on the hair “ribs” so as not to mess up the hair texture work.
I also realised as I’m doing this that I should have probably done it the other way and sculpted the hair first and then the mask so that the mask rests on the hair but hindsight 20/20 or whatever Vessel said.
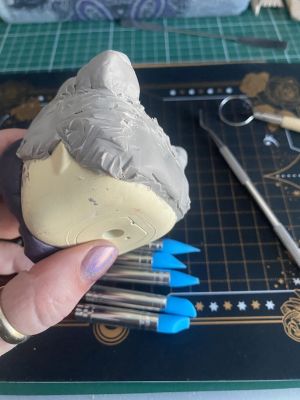
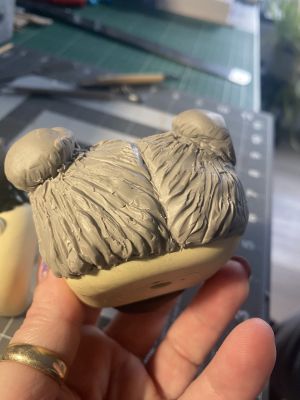
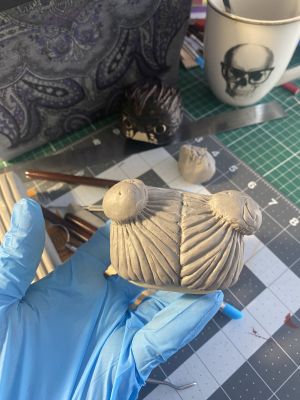
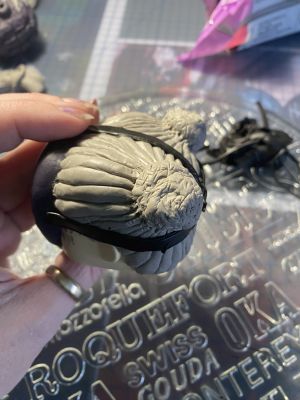
I started roughing in the hair texture to get the directions correct. Putting in some temporary guiding angles at the top to keep it balanced and give me reference for the bun spacing. It’ll be erased with the refining.

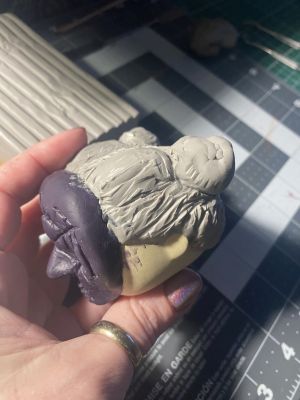
Did you mention refining because next comes the refining and refining and refining. After that there’s just a tad more refining before you start the refining.
I’m trying to match the rounded lumps of Yamada’s hairline with the hair texture for something different visually than just scratching up the surface in an impression of hair. A bit more exaggerated, in caricature.

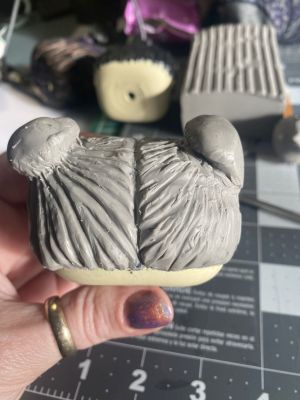
And then a bit more refining refining refining – I tried out some of the new tools before trying out one of the new blue rubber smoothers and that works a treat for getting bumps and dents out.
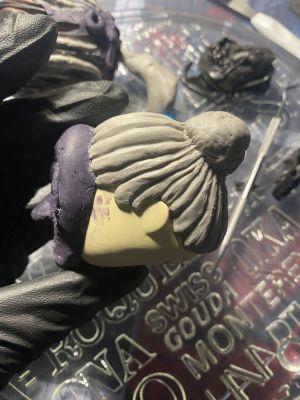
I did a test for the black mask strap to see how it would turn out. I bought some black Sculpey and rolled it out, cutting it into strips. It looks OK and I should be able to do the loop detail at the back of the mask.
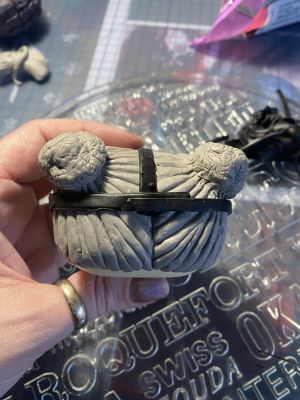
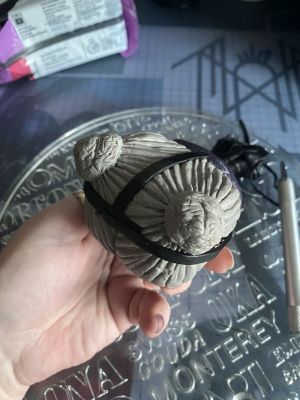
I first thought it was just him being cool and wearing it all half done up that way but I actually think it’s meant to be looped out like that when you look at the fastenings a bit lower down the tongue side of the strap. I’ll continue with the strap in the next post as a friend has loaned me his pasta maker so that I can roll out really thin even sheets of clay which I’m just shite at with a hand roller. It’ll make the straps come out perfectly even this time and kick ass over ii’s buckles (sorry ii).
I’m in awe of whoever made these masks. Looking at them in such close up to get the detail for my work somewhat accurate they’re just amazing creations and to stand up to touring they must be pretty robust. I need to do some research to find out who made them.
I pulled out a selection of the new tools to work on this but only ended up using one of the dental tools and the blue pointed rubber smoother most of the time. My old tools at the top. I’m not quite sure how I’m going to do the bun texture to make it look fluffy with those cute lil whisps of hair. Or do I just give impression of fluffiness with the same rounded hair texture way? Hmmm will ponder…


Hope you’re well and your day was super! Thanks for catching up 🙂
Worship! 🖤


Leave a comment